Upgrade to vCenter Server 5.5
This is the fourth post in a series of articles chronicling the process of upgrading my personal vSphere lab system from 5.1 to 5.5.
Before you get started with the upgrade, you should read the following KB article:
Upgrading to vCenter Server 5.5 on a Microsoft Windows platform (2058275)
Information Required for vCenter Server Installation or Upgrade
Upgrade procedure:
Mount the vSphere 5.5 installation media. The installation wizard appears.
In the left pane, under Custom Install, click vCenter Server and then click Install.

Note: If any of the prerequisites are not met, they are listed in the right pane under Prerequisites.
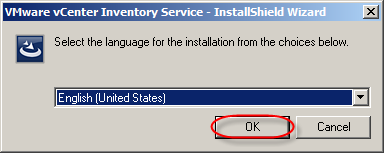
Select the appropriate language from the dropdown and the click OK.
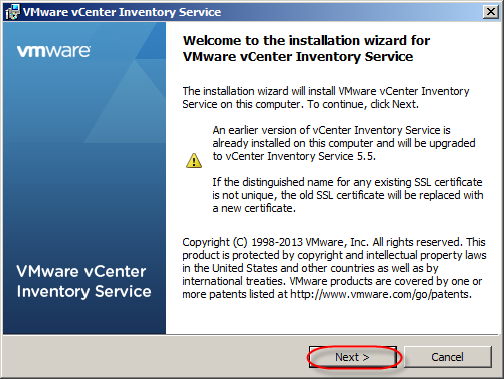
In the welcome screen, click Next.

If a previous version of vCenter Server is installed, the welcome screen displays the message:
An earlier version of vCenter Server is already installed on this computer and will be upgraded to vCenter Server 5.5.0
Review the End User License Agreement. If you agree, select the I accept the terms in the license agreement option, and click Next.
In the license key screen, enter your license key and then click Next. (If you have a valid vCenter 5.x license and are performing an upgrade, your existing key will work when the install is completed.)
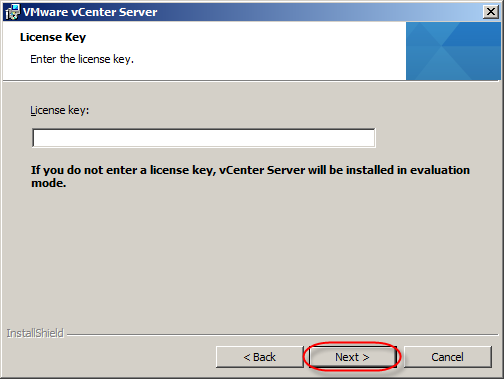
Note from the KB article: You can view your license keys in My VMware. For more information, see Viewing license keys in My VMware (2006831). If you do not enter a license key, you can proceed with a 60 Day Evaluation license and you see a popup, which prompts you to acknowledge that you are proceeding without a license.
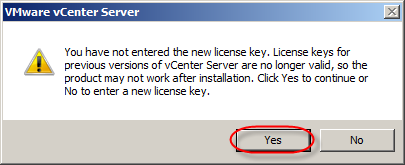
Click Yes to proceed.
Enter the database user name and password for the existing database and click Next.

If you receive a warning about registered extensions like VMware vCenter Update Manager, Click OK. You will need to install compatible versions after the vCenter server install is complete.

Select Upgrade existing vCenter Server database when prompted with the database upgrade warning:
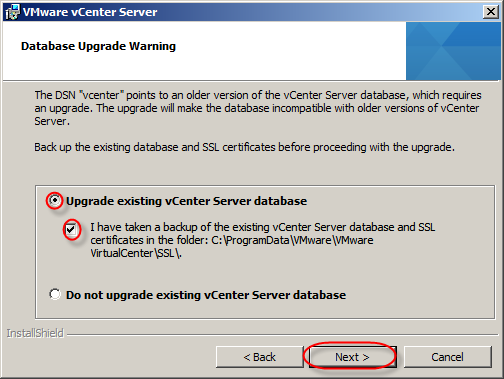
Note: You must acknowledge that a backup has been taken of the vCenter Server database and SSL certificates.
Click Next.
Select automatic or manually upgrade the vCenter Agents that are installed on ESXi hosts. Click Next.

Select the user type that the vCenter Server should run with and click Next.
You can use one of these options:
- Use Windows Local System Account
- Use an alternate account (In production deployments, I always use a specific account for the vCenter Server service.)
In this lab instance, I have used the Windows Local System Account.

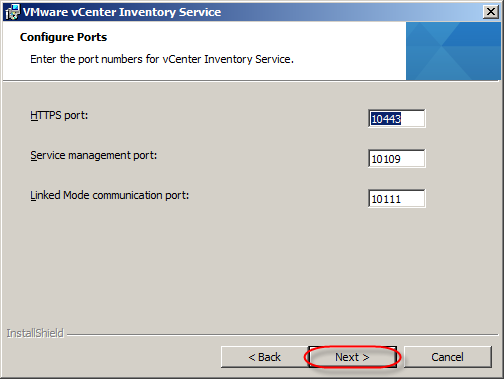
Optionally, provide an alternative TCP port number for the VMware VirtualCenter Server service and click Next.

Note: Changing the default ports is recommended only if you have an unchangeable port conflict on the same system.
Select one of these inventory sizes, Click Next.

Small is sufficient for my lab environment.
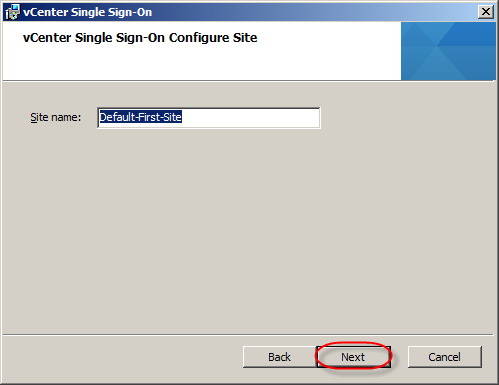
Enter the SSO Lookup Service URL and SSO administrator username and password. You may be prompted to install the Lookup Service Certificate.

Note: You must use the Fully Qualified Domain Name (FQDN) and not the IP address. Using the IP may result in certificate related errors when starting vCenter Server. For more information, see vCenter Server 5.x fails to start after upgrading Single Sign-On configuration from vSphere 5.1 to vSphere 5.5 (2058080).
Click Next.
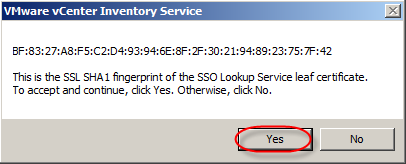
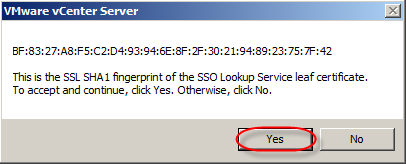
When prompted, verify the fingerprint of the certificate and click Yes.
In the vCenter Inventory Service Information dialog, check if the FQDN of the vCenter Inventory Service URL and port number are displayed. These fields are auto-populated.

Notes:
- If the FQDN is not auto-populated, enter the FQDN manually.
- The default port is 10443.
Click Next.
Optionally, provide an alternative installation location and then click Next. (The installer used the path from my existing vCenter server install.)

Notes from the KB article:
- The installation path of vCenter Server must be compatible with the installation requirements for Microsoft Active Directory Application Mode (ADAM/AD LDS). The installation path cannot contain non-ASCII characters, commas (,), periods (.), exclamation marks (!), pound signs (#), at signs (@), or percentage signs (%).
- The path must conform to NTFS naming restrictions. For more information, see the Microsoft TechNet article Naming Files, Paths, and Namespaces.
- The installation requires 4 GB of disk space to be available. For more information, see the Hardware Requirement for vCenter Server, the vSphere Web Client, vCenter Inventory Service, and vCenter Single Sign-On section in the vSphere Installation and Setup Guide.
In the Ready to Install screen, click Install.

Installing…

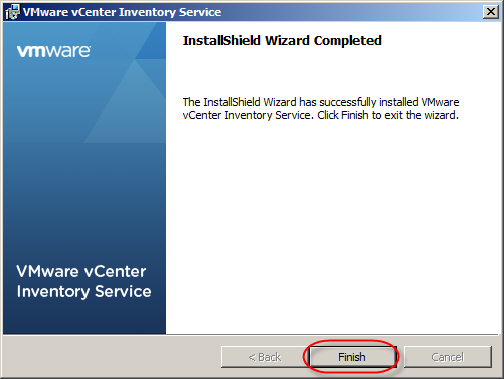
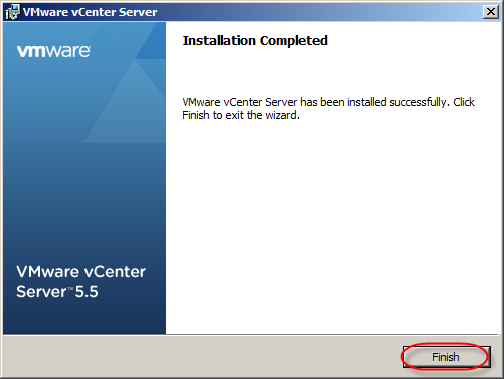
When the installation completes, click Finish.
Installed programs showing upgraded vCenter Server and related components.

Next up is the upgrade of vCenter Update Manager.